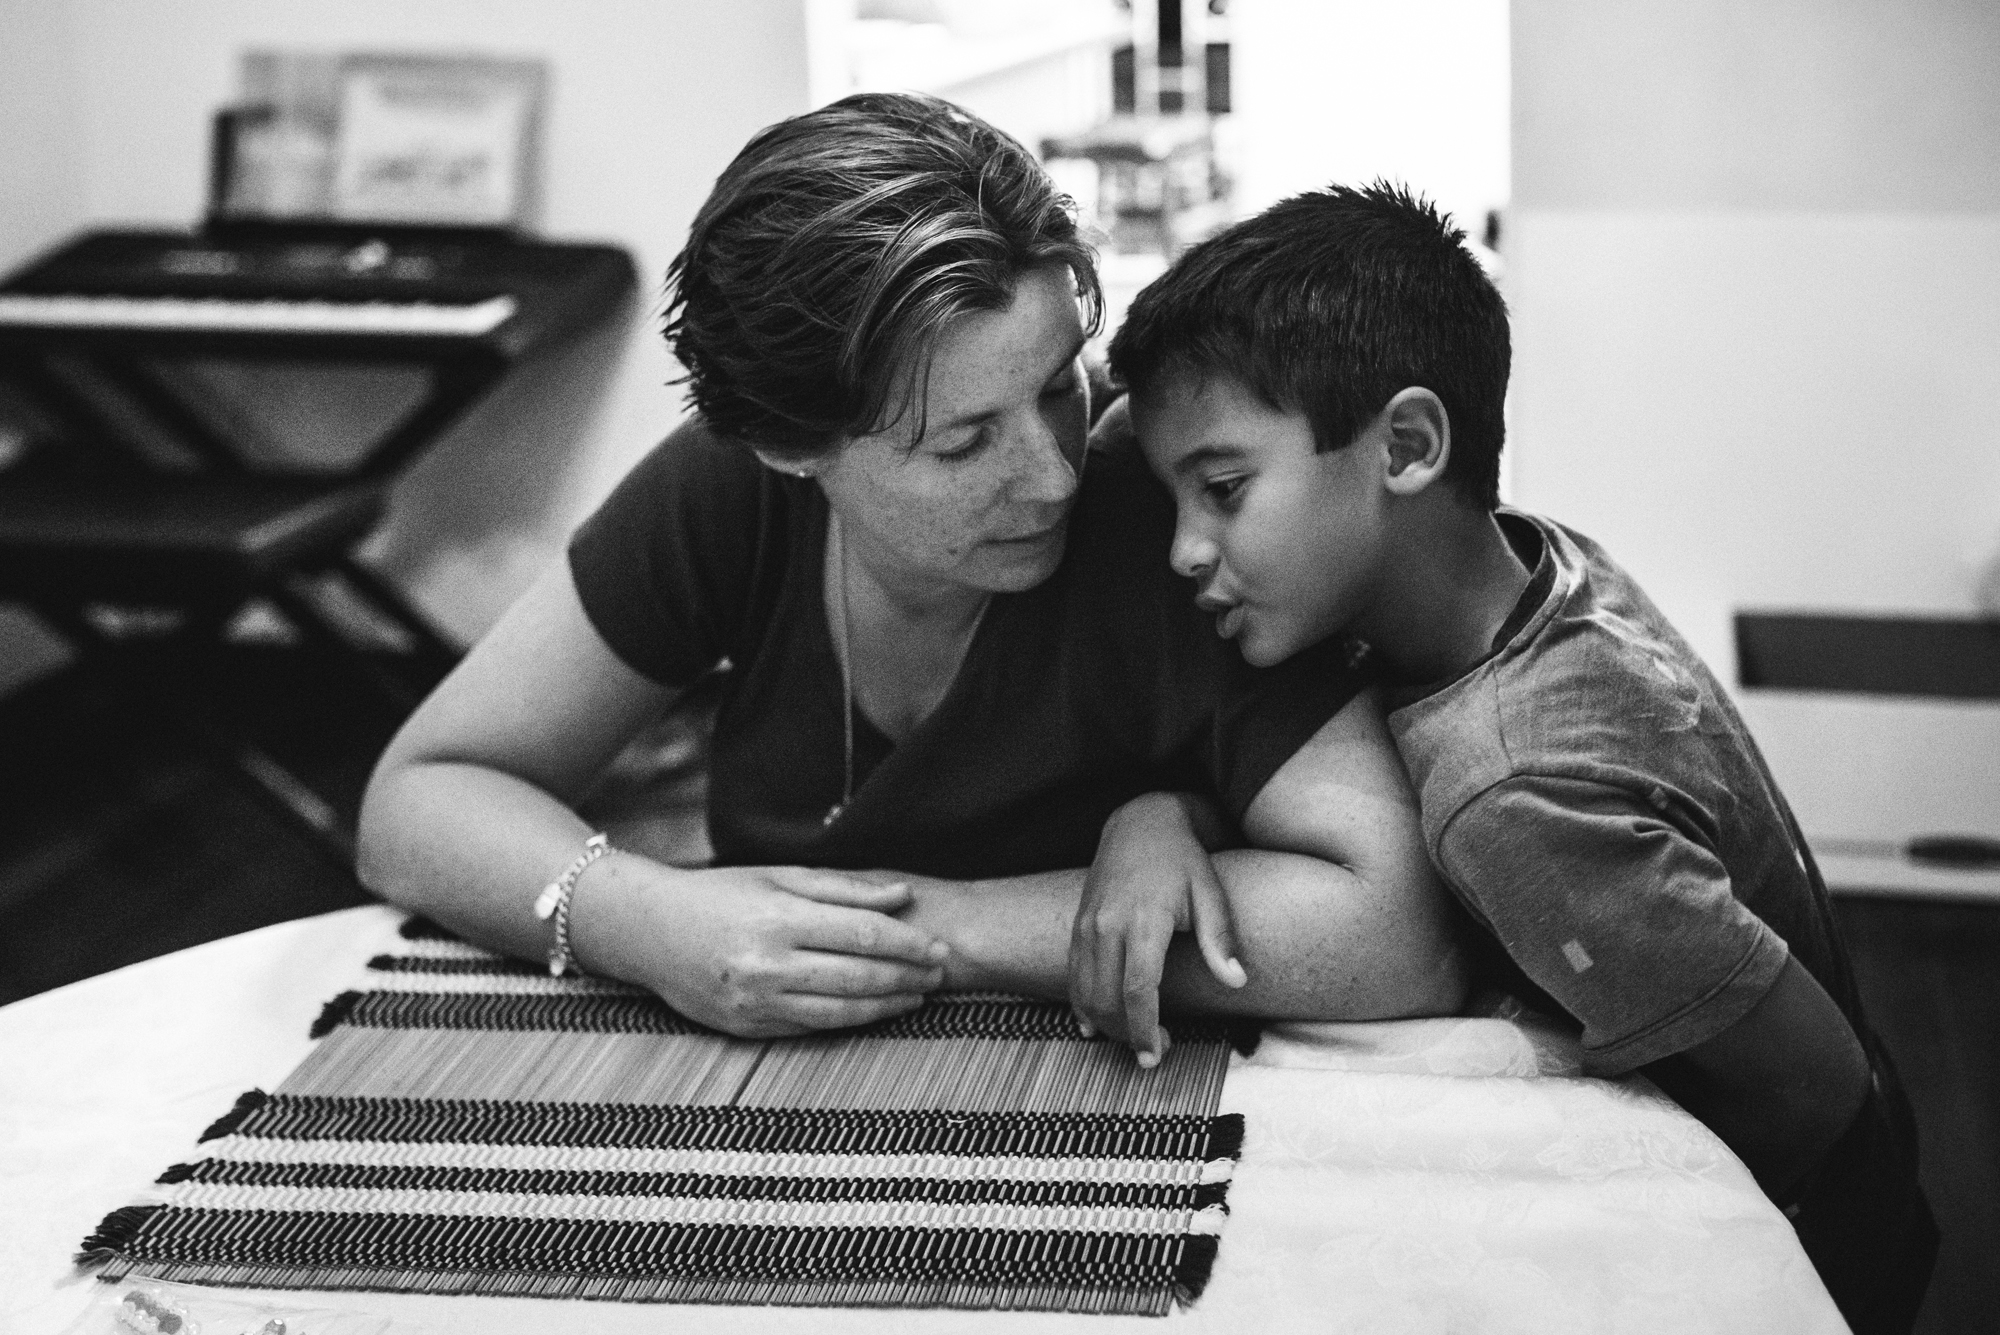
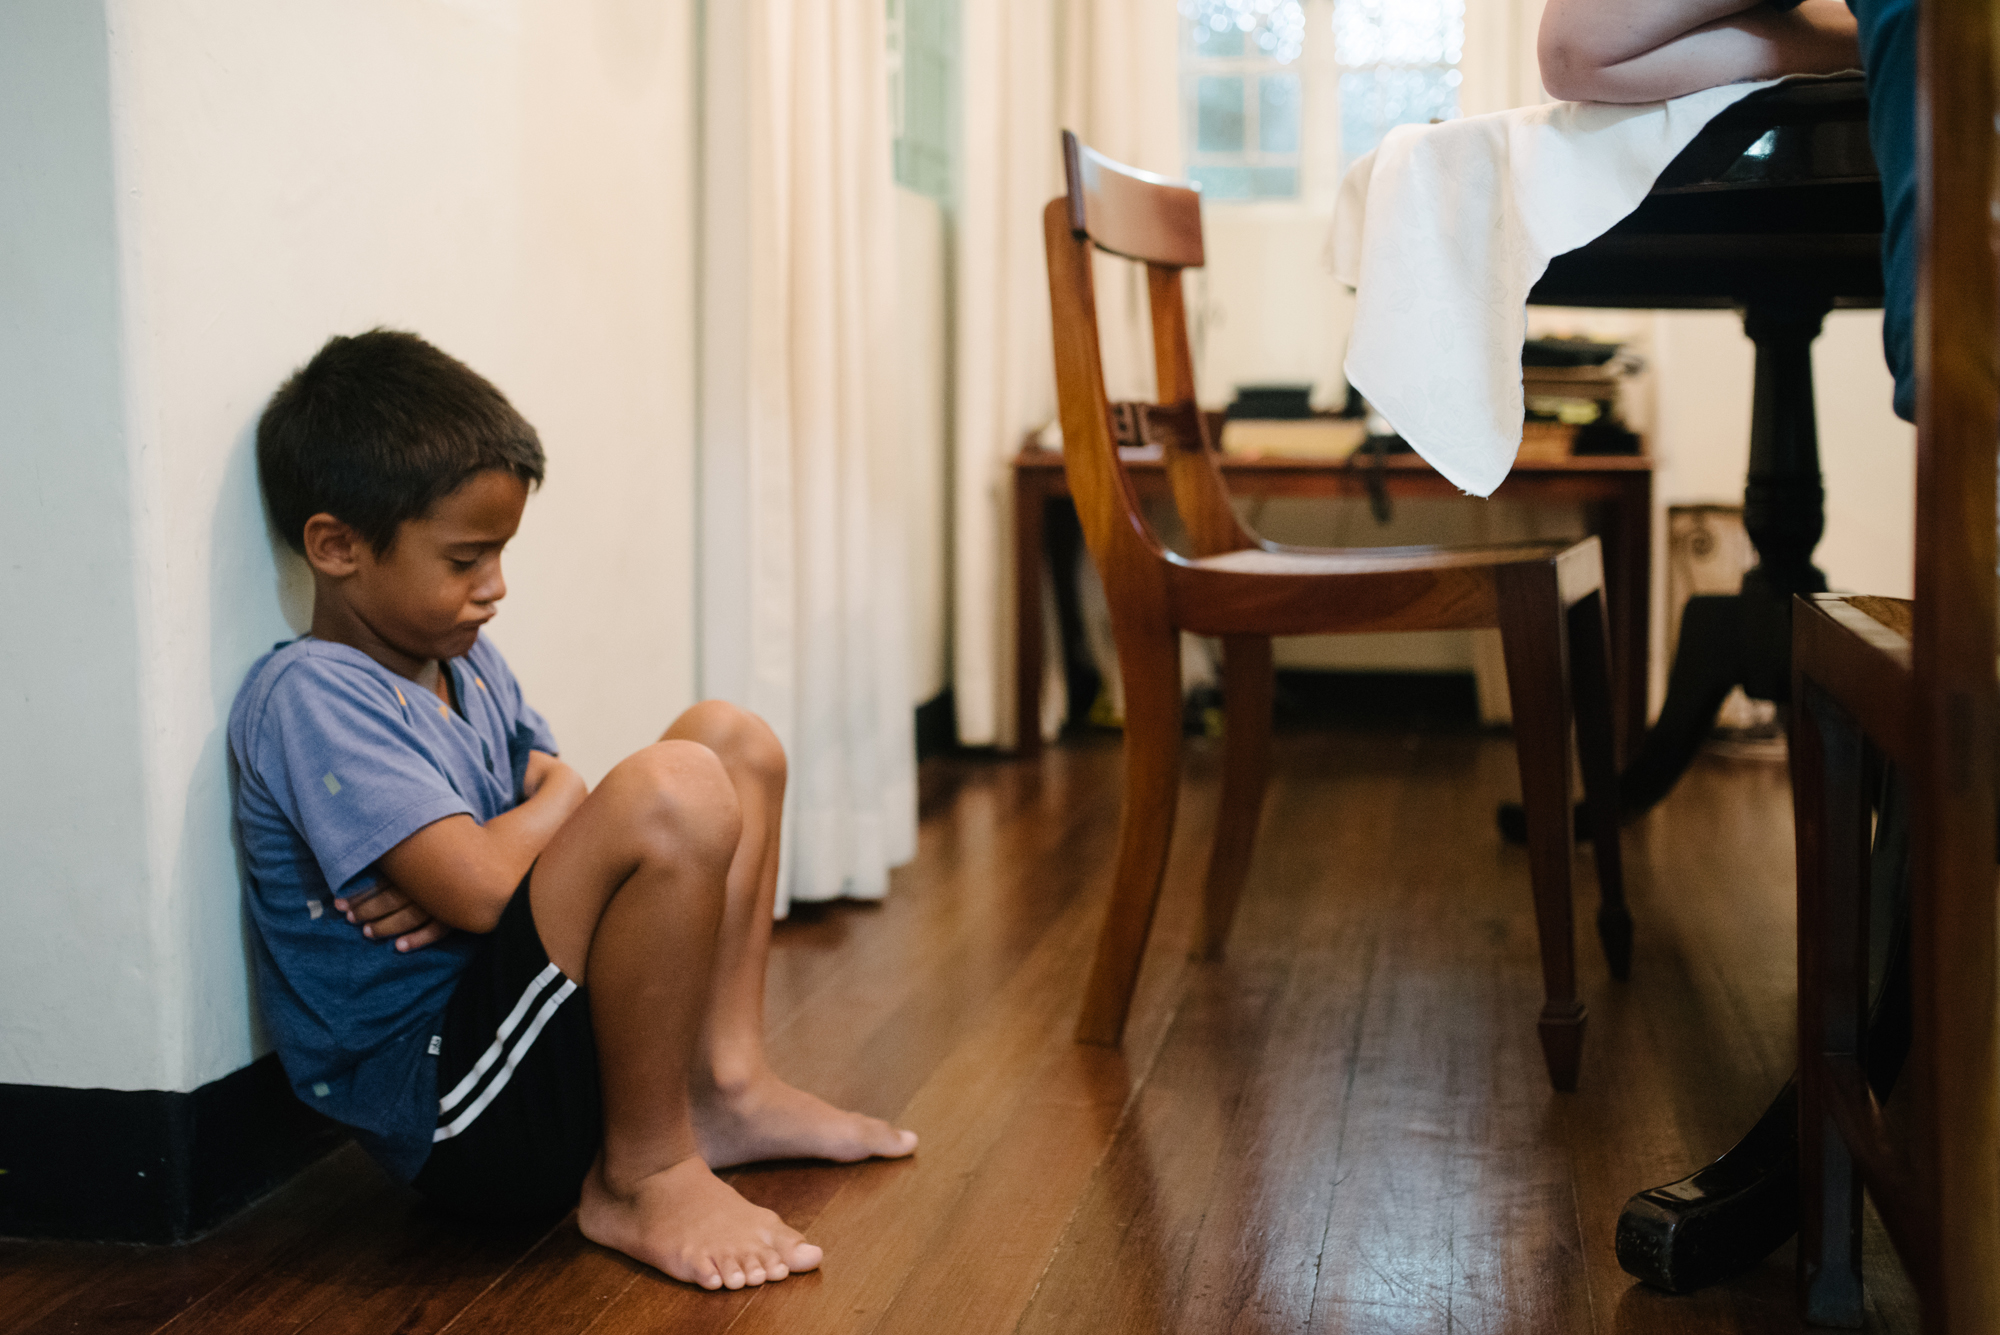
For years I only made photographs during the last two hours of sunset. I never dared take out my camera at any other time. I went so far as to tell clients that “I’m a natural light photographer, and my preferred time to shoot is golden hour.” A.K.A I had no clue how to handle any other type of light be it morning light, harsh mid-day light or heaven forbid, artificial light. I tailored my style of photography around the only type of light I knew, and not surprisingly I hated my work. It was full of light airy images, beautiful smiles, and of course, glowing Sunkist light. I couldn’t connect with my work. I felt as though I was convincing myself that this was my style, when the truth was, I did not have the technical know-how to photograph what I wanted. Aside from my “alter-personality” portfolio, days and years were going by and I didn’t have a single photo of my family. Moments were missed, both amazing, sad, and the mundane everyday – but I was afraid to shoot inside. I then looked at the empty boxes of my family’s memories and decided it was time to document my family.
I knew I needed to learn how to photograph indoors, in any light. If you are afraid of getting your camera out I’m going to share 5 tips to give you inspiration and technical advice so that you can start making images inside when that sun goes down.
TIP #1: Look for the light, it’s there.
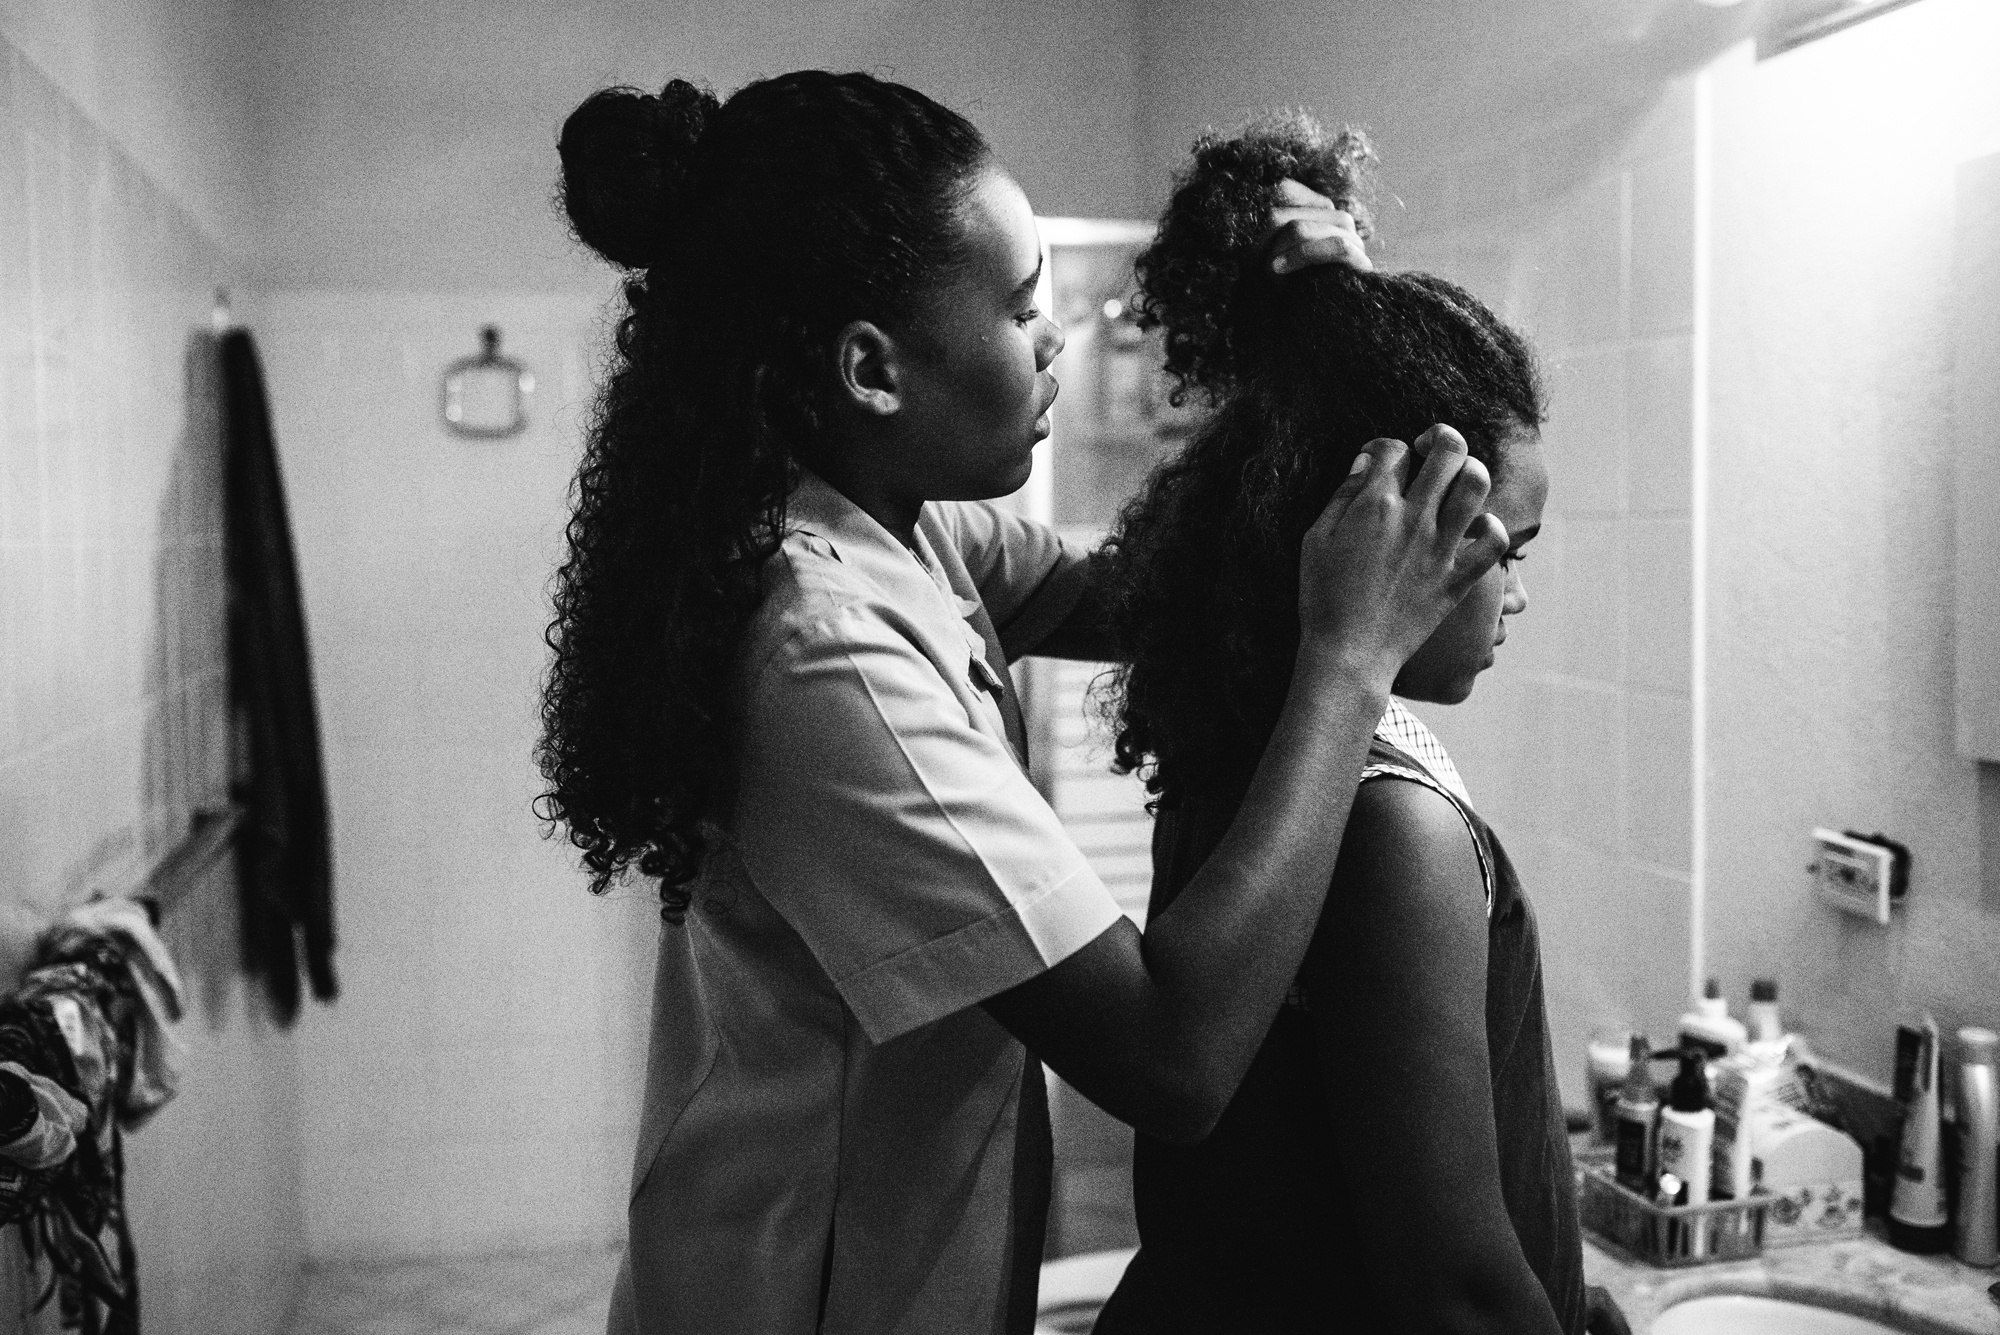
This was one of my first stumbling blocks when getting inside and starting to shoot my family. I panicked as the sun went down because I saw fewer opportunities for photos. Inside shooting meant placing my subject next to a window or opened door. When beautiful light wasn’t streaming in from those sources, my camera was put away. What I failed to see, is that light can come from anywhere – I just wasn’t looking for it. When I finally opened my eyes, I saw that light can be used from an overhead fan light, a lamp, kitchen spot lights, opened refrigerators, the computer or TV, even a cell phone. With no light there’s no picture. We all know this. But there’s nowhere that says where that light must come from. Start looking at how an iPad can illuminate your child’s face, or how the lights inside a fish tank can light up your subject. There are so many sources of light inside our homes, we just have to actually “see” them.
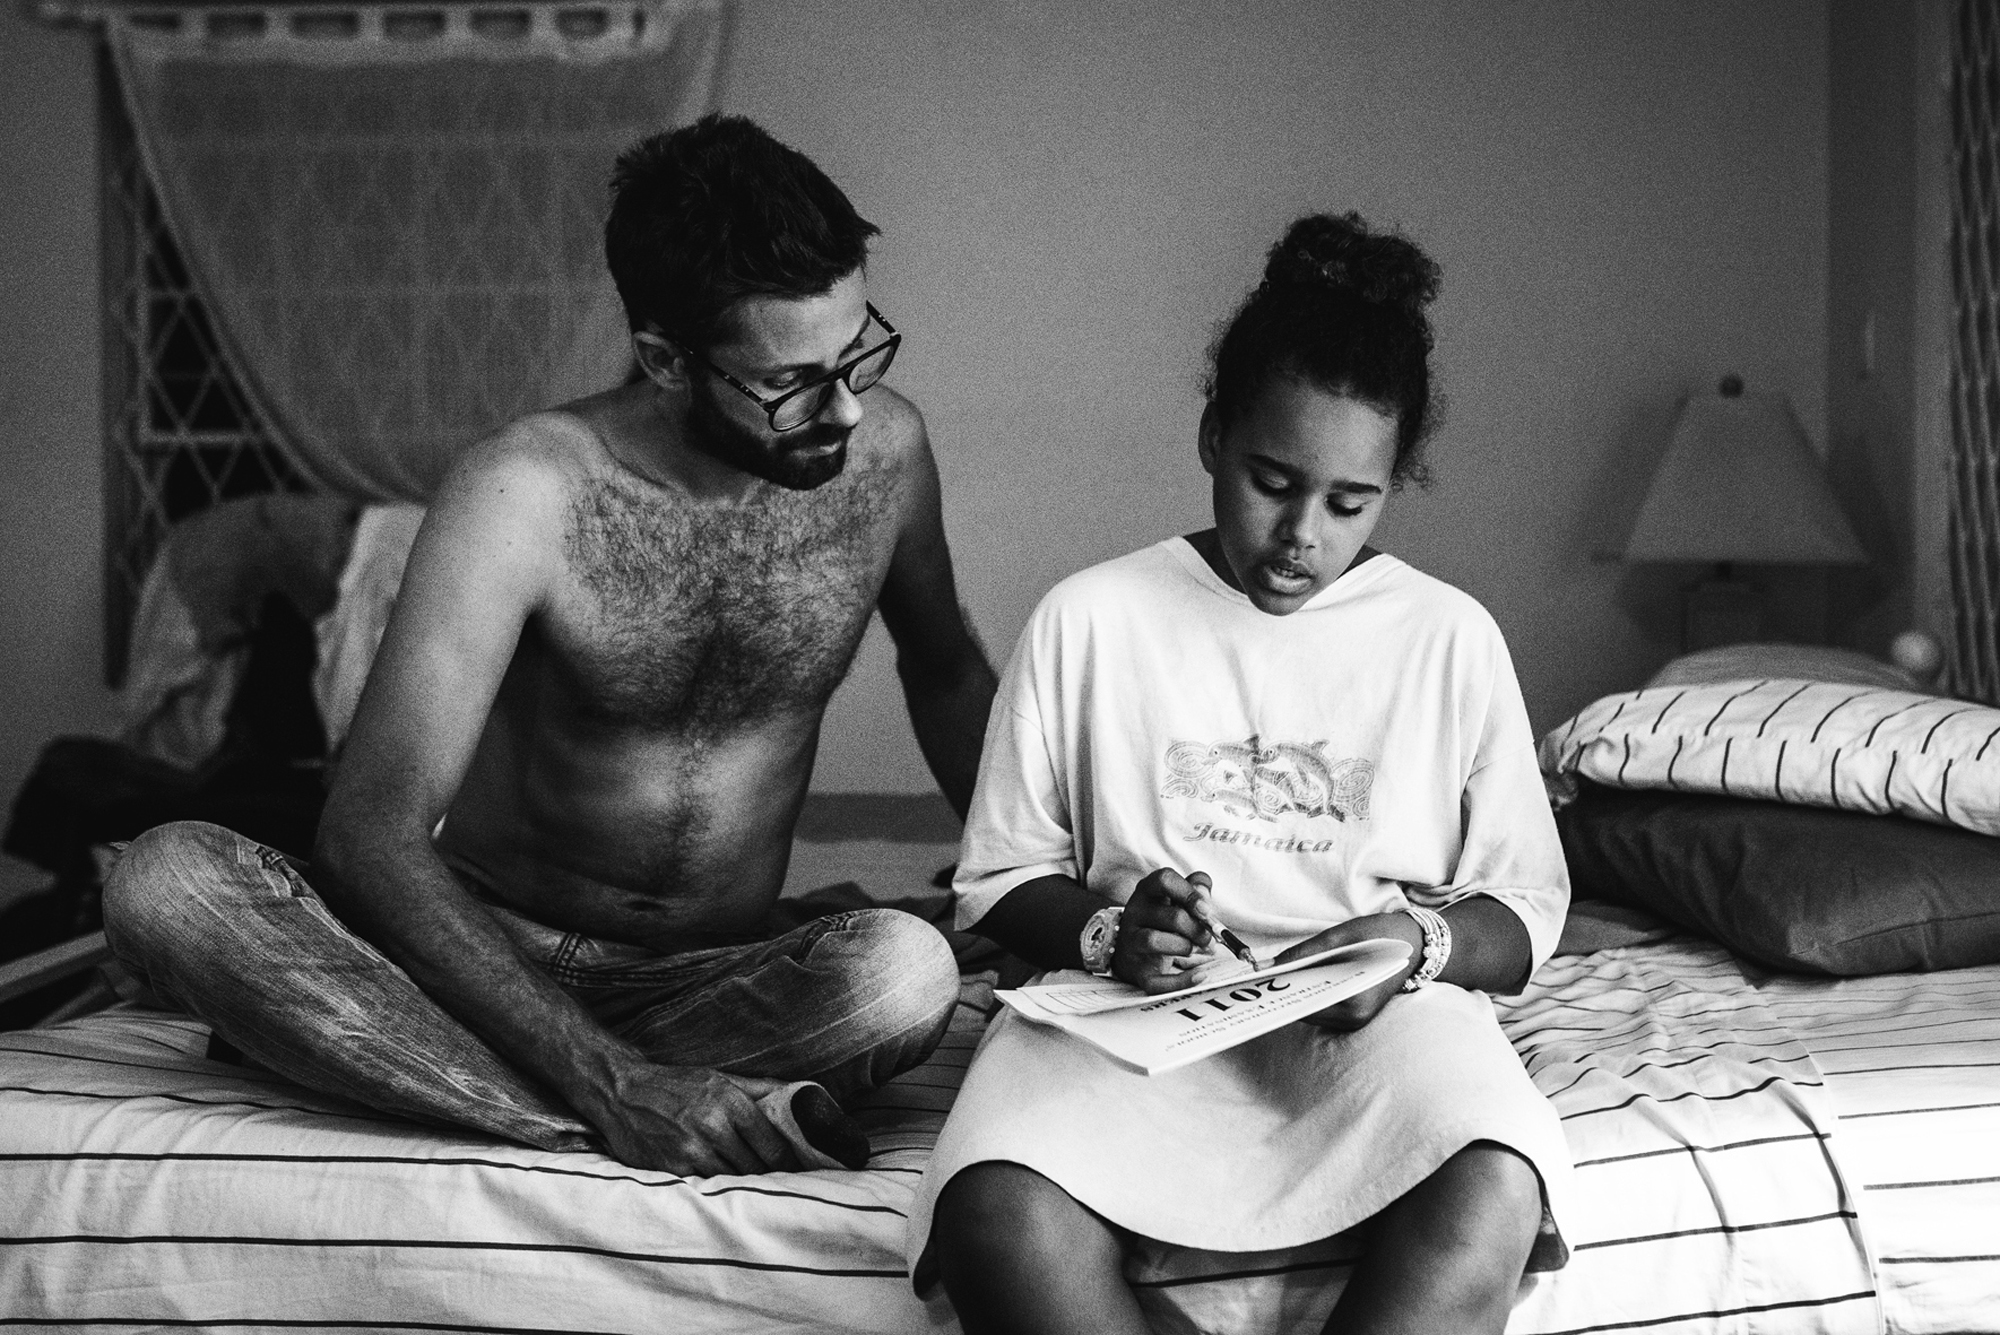
TIP #2: Limit the number of light sources.
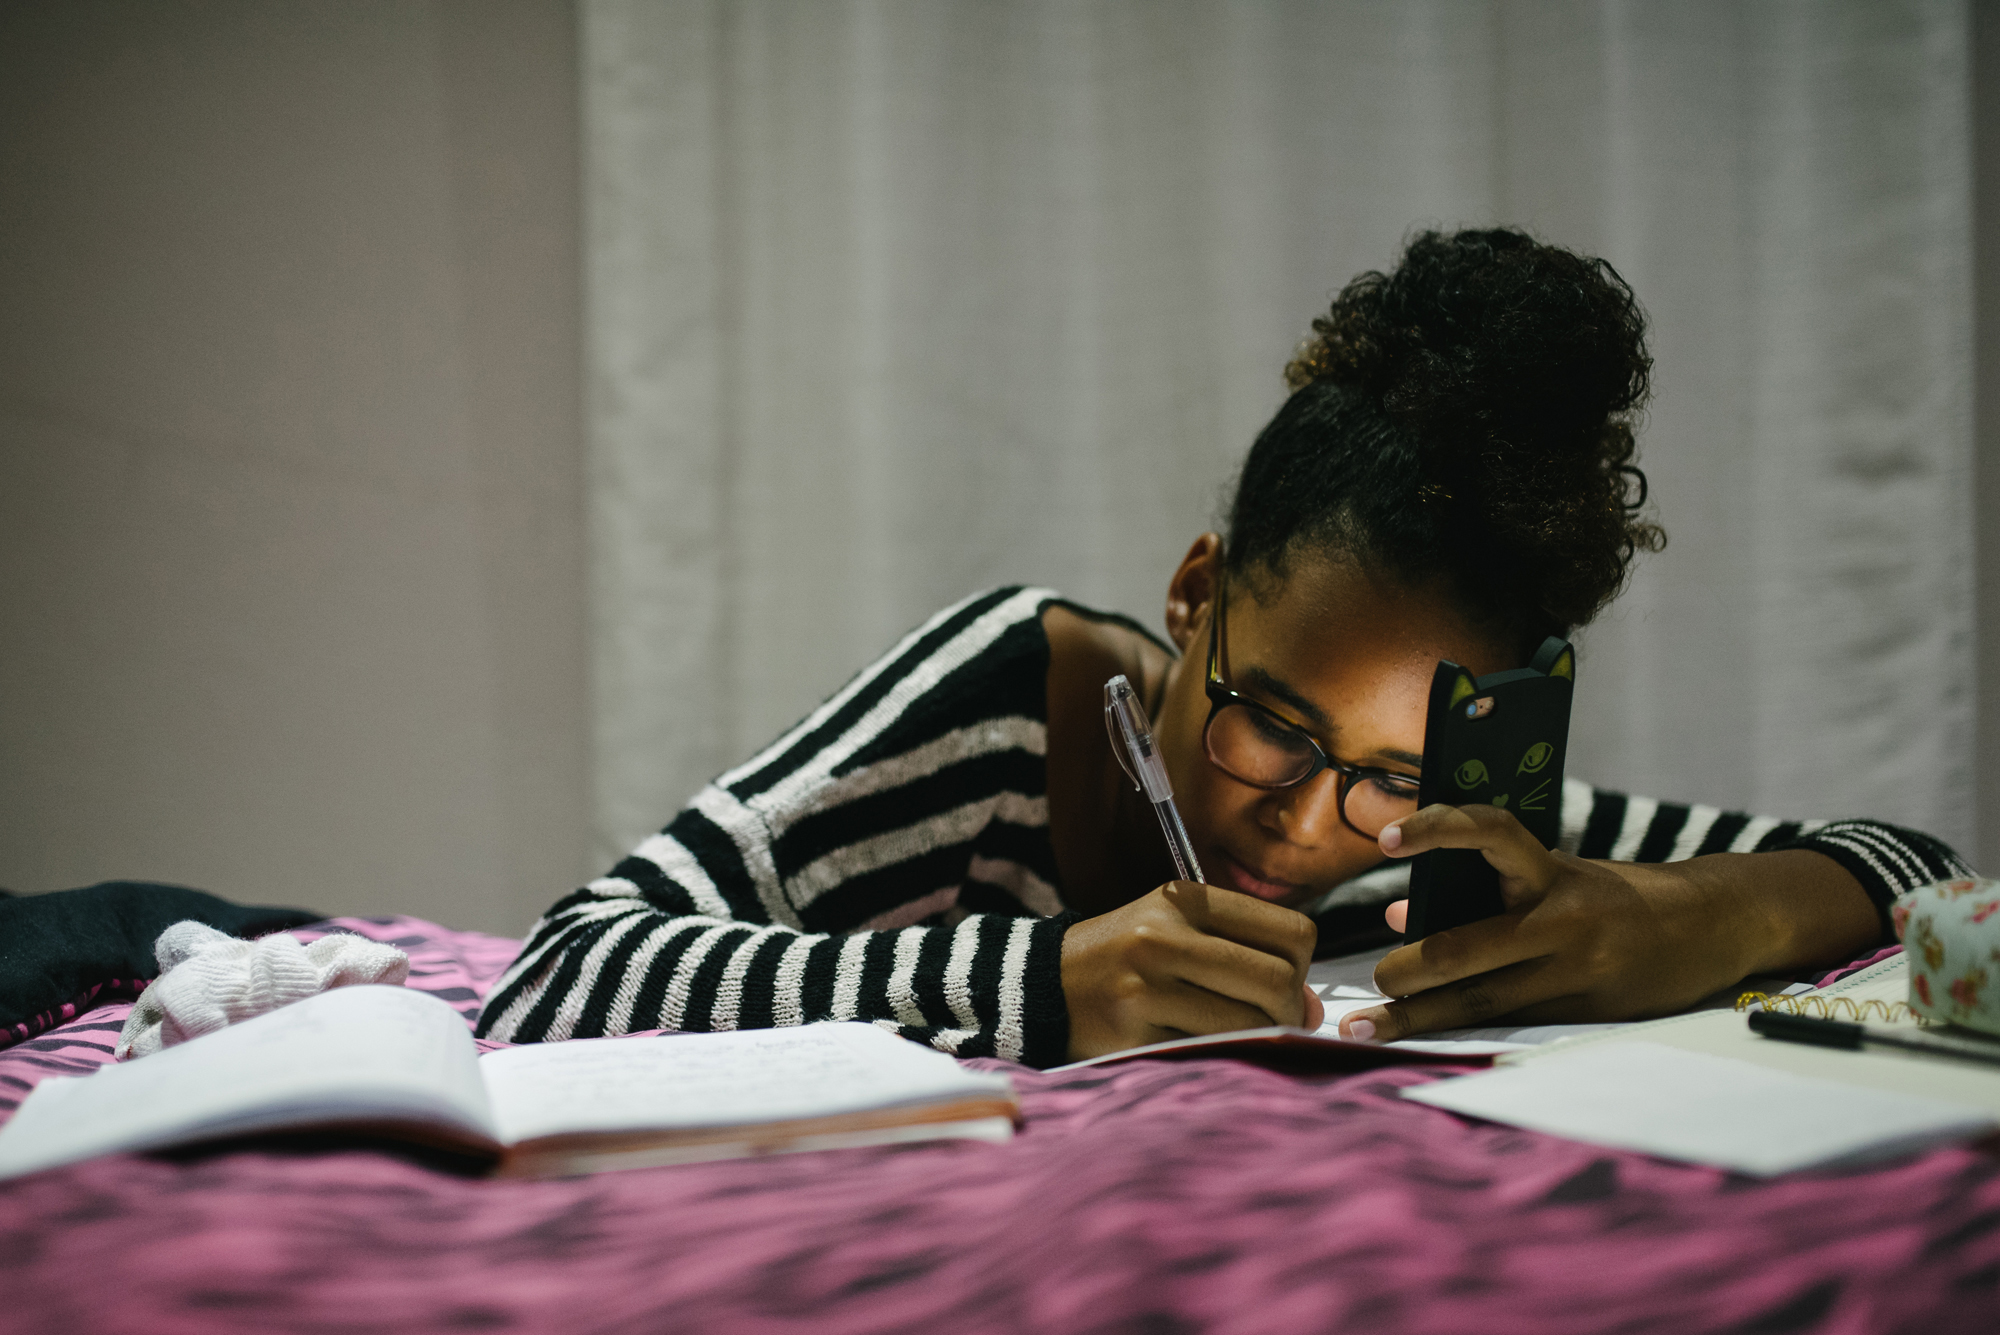
It’s hard to find beautiful artificial light indoors. You have to be able to embrace the difference between gorgeous natural light, and artificial light inside. Many times, you’ll see a scene where there will be multiple light sources, and this can completely throw off your exposure and your white balance. To increase the quality of your light in your image, use only one source of light. Turn off all surrounding lights and work with just one. Below is an example of this. When I walked into my room, Adi was sitting on the bed with the computer. I knew I wanted to capture this, but there was too much light around her coming in from the bathroom, and ceiling light. These lights were overpowering the computer light that was shining on her face, which was what I wanted to photograph.
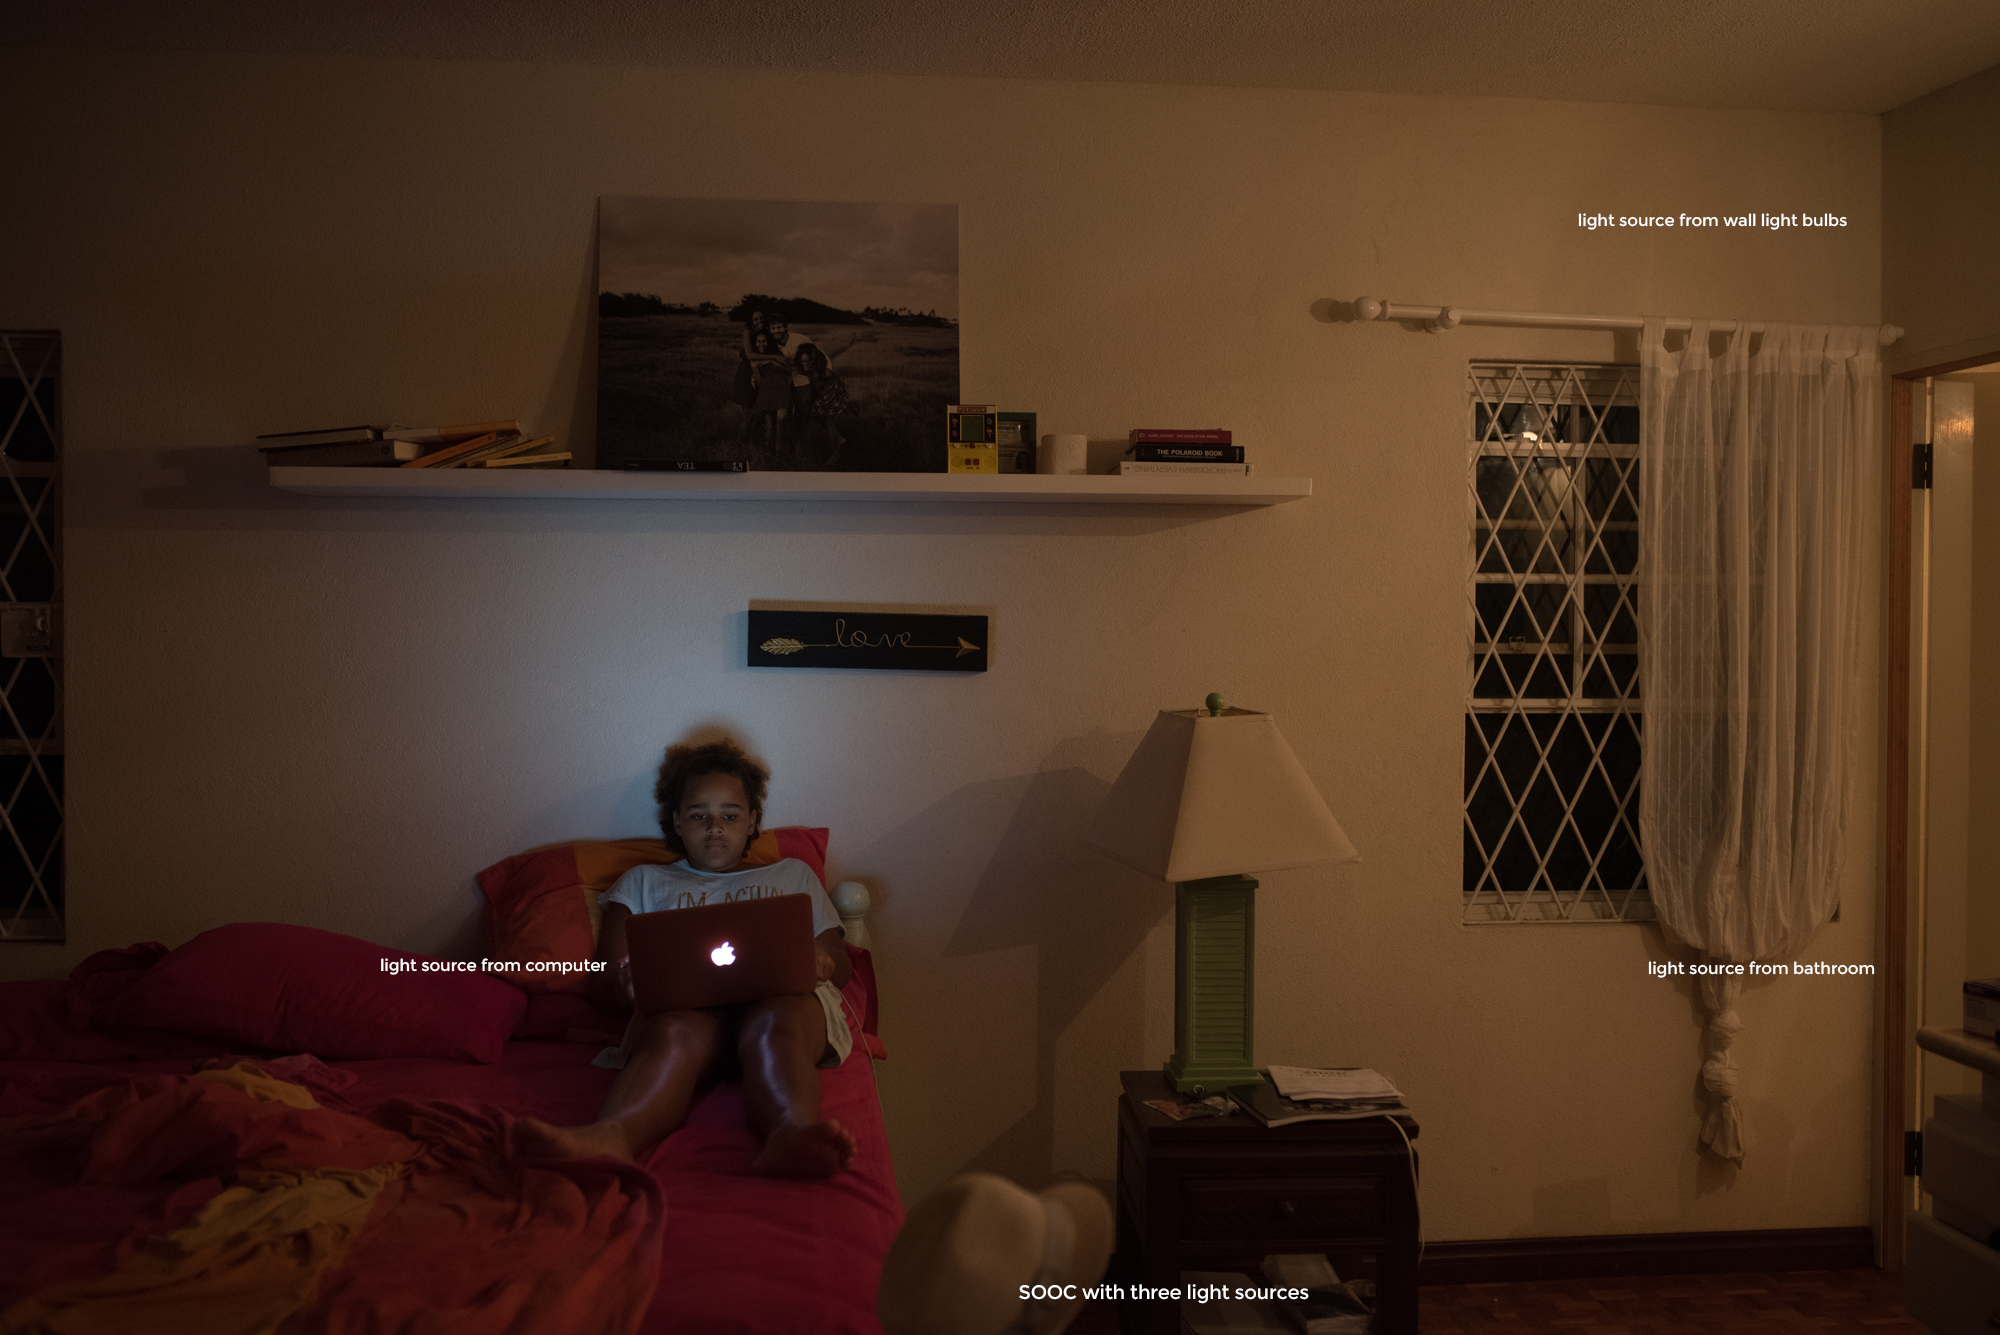 This is the SOOC image. Camera right is the bathroom door with light coming in. Additionally, there are light bulbs on the wall, camera right.
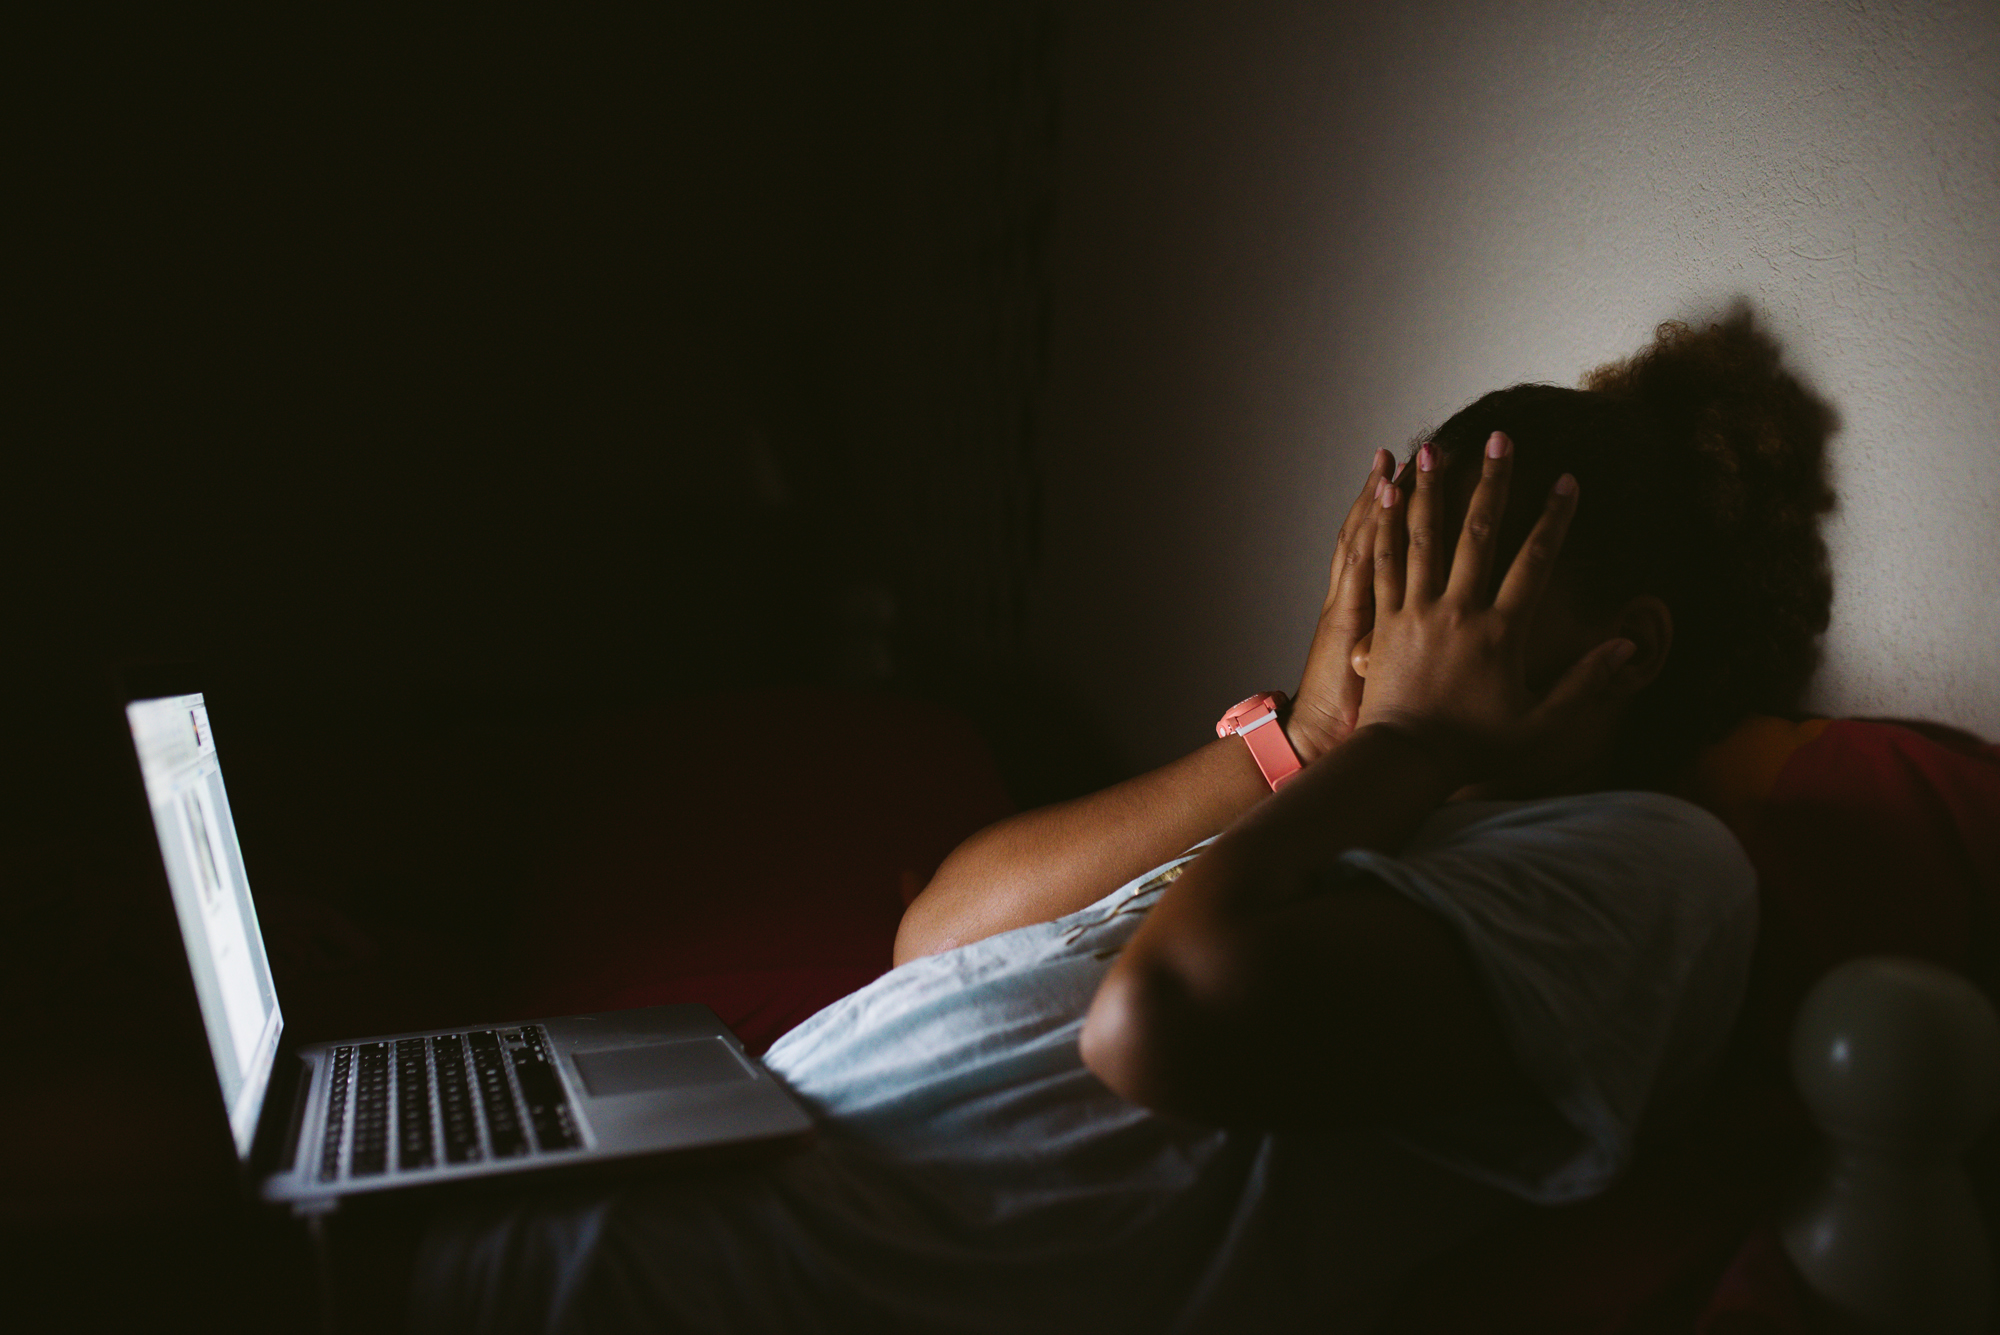
This is the final edit. I turned off all the lights, having the computer as my only source of light. The difference is astounding.
Keep in mind that there may be times when you have no control over the light in a room, and you cannot turn lights on or off when you are purely documenting your family or a client in their home.
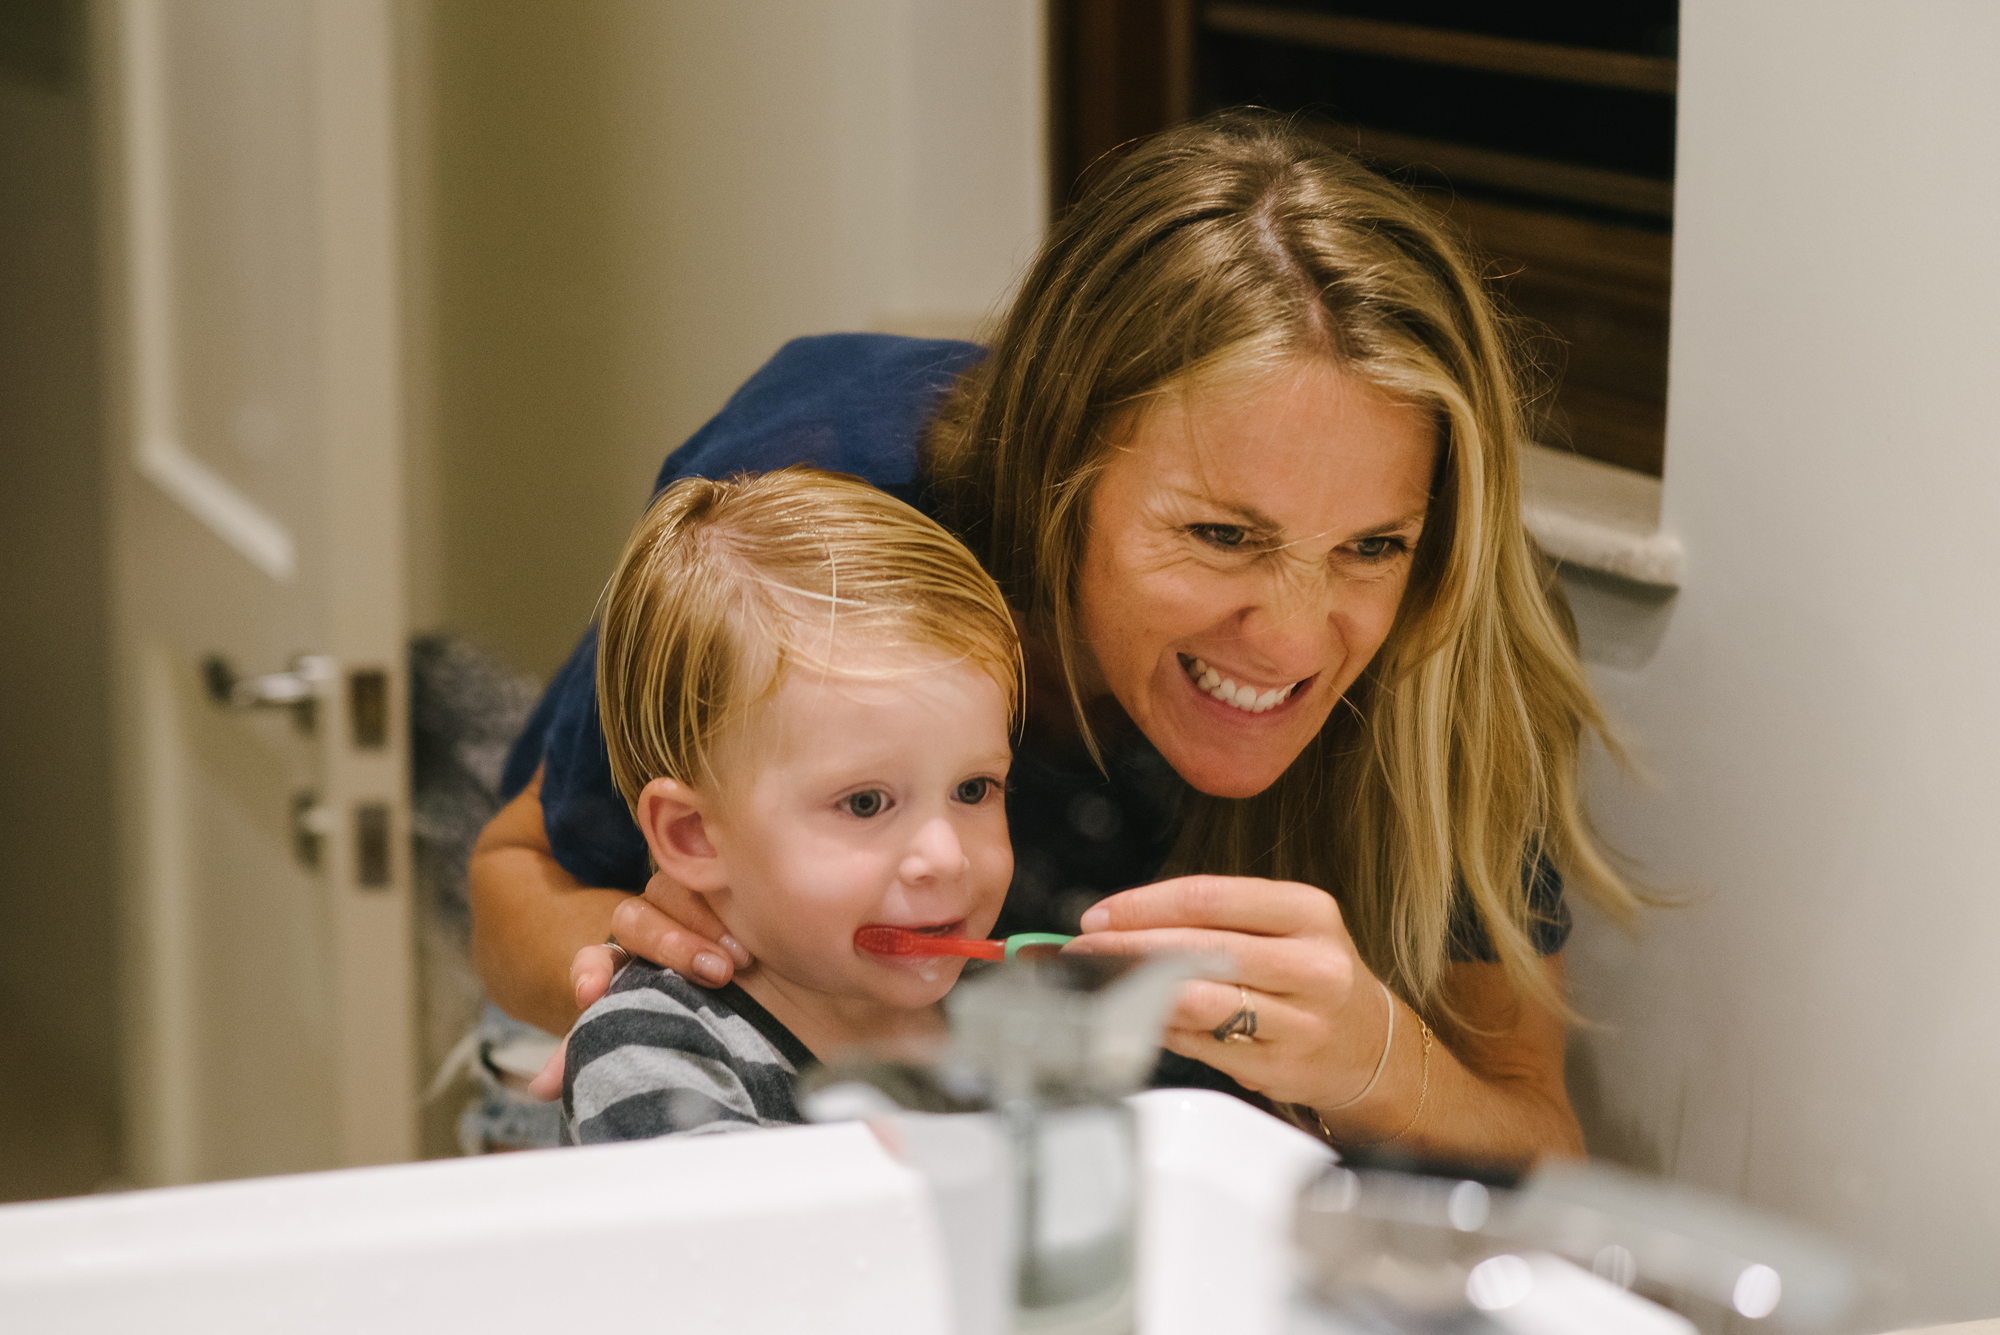
TIP #3: Crank up your ISO
More than anything I don’t want unintentional blurry photos. To make sure of this, I try to keep my shutter at 1/160th or above. This means that I’m going to have to rely on my higher ISO capabilities to keep my shutter that fast when working with indoor light. I have the D750, which performs phenomenally well in low light situations. Many photographers are concerned with the grain in the image. However, if you are a documentary photographer, a lot of the shooting will be done in artificial light or extremely low light indoors. You must be comfortable with pushing your ISO. I’m very happy shooting at ISO 12,800 if the situation calls for it. The tricky thing with ISO in combination with indoor artificial light, is that you cannot use ISO to create light in your image. Find the light first, then hike up your ISO to enhance the light. If the grain is far too noisy, you can easily eliminate it in post production.
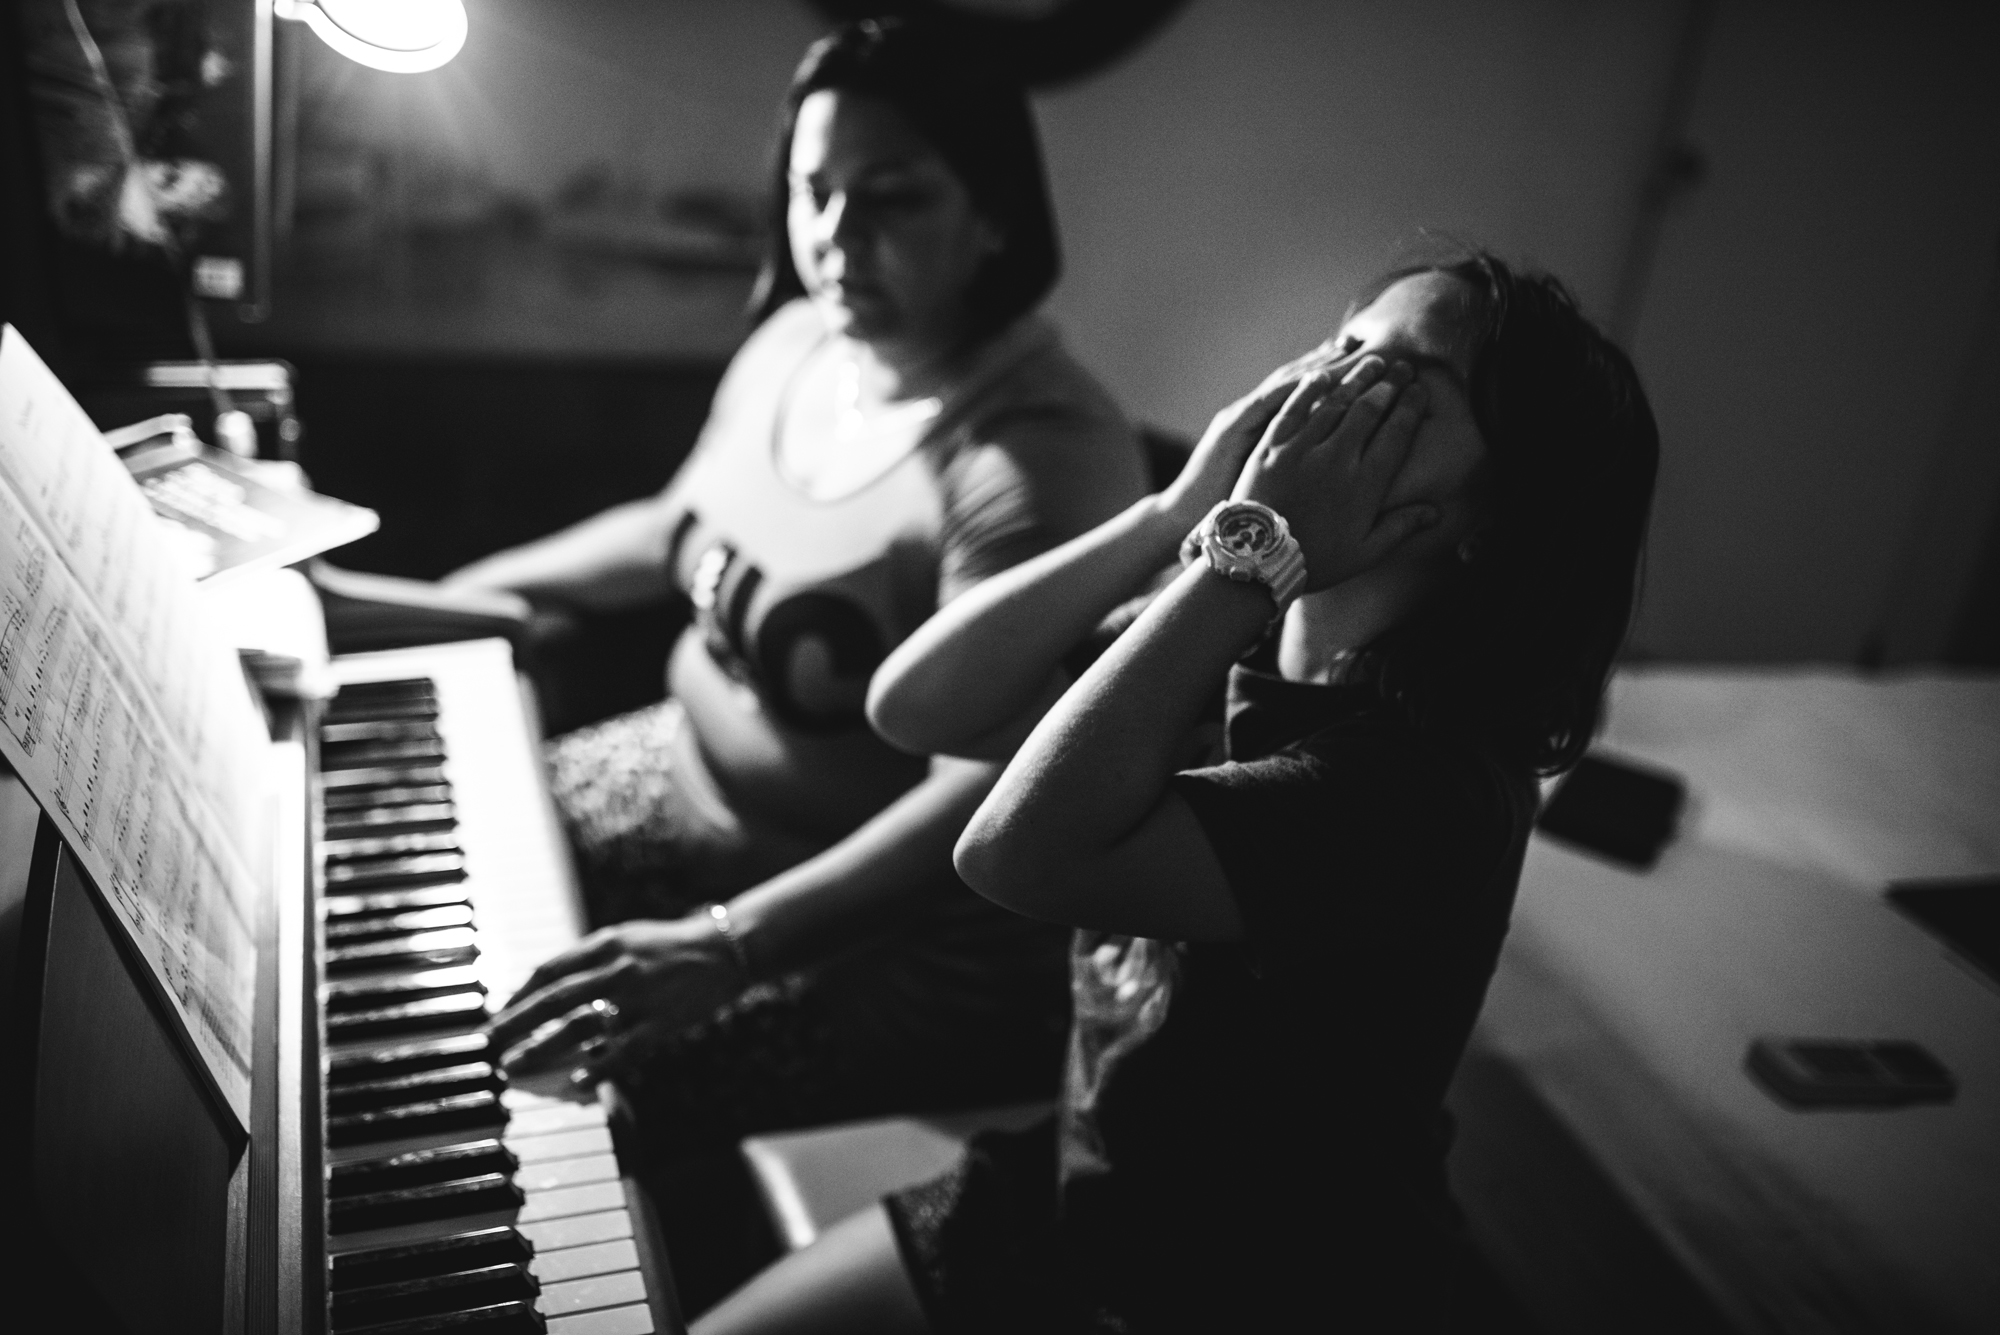
Tip #4: Open up your aperture
When working indoors with artificial light there will be times where you have to rely on your aperture to give you more light. The light can be so low from such a small light source, for example, that you will have open up your aperture to let more light into the scene. I will often use the 24mm 1.4 or 35mm 1.4 to let as much light into the frame as possible while adjusting for proper exposure. Be careful of the very narrow depth of field here when focusing. Your best bet would be to toggle and back button focus rather than focus and recomposing when using such a shallow depth of field in low light.
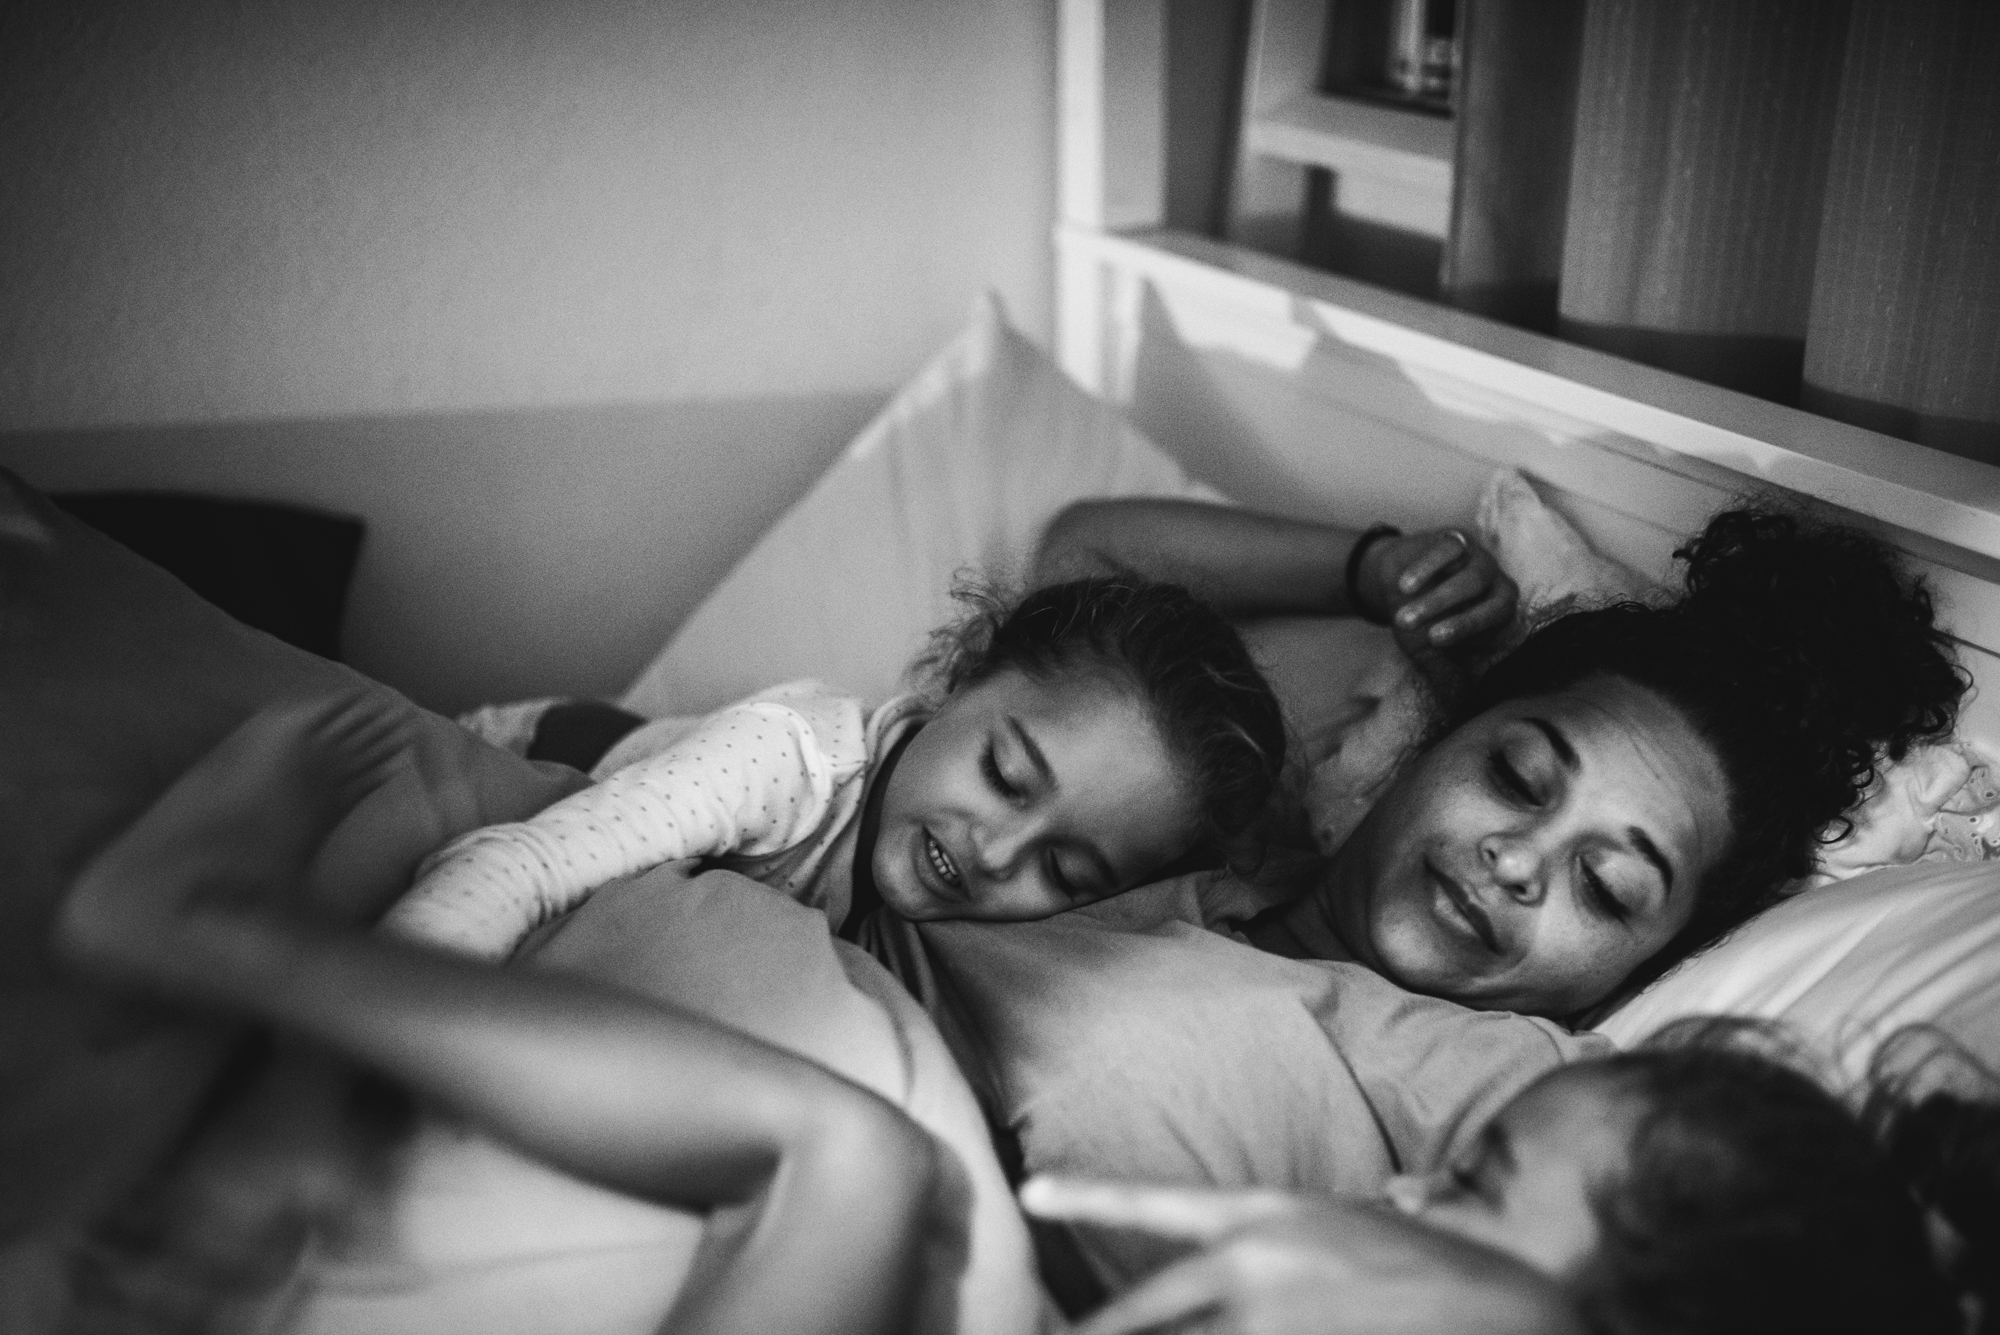
F/1.4, SS 1/30th, ISO6400
In this image, there was one small side light on the wall. I needed the widest aperture possible to illuminate this image.
TIP #5 Shoot in Raw
I cannot underscore enough the importance of shooting in RAW when photographing indoors. There are so many variables we cannot control that are easily fixed in post production only if we shoot in RAW format. Of course if you can nail exposure and white balance and create the image you want in camera, go for it. RAW files contain all the information needed, and we then have the chance to fix an image by having the ability to tweak exposure, highlights, shadows and so much more. Shooting JPG will limit your wiggle room when dealing with things like white balance which can be extremely challenging when photographing indoors with artificial light.
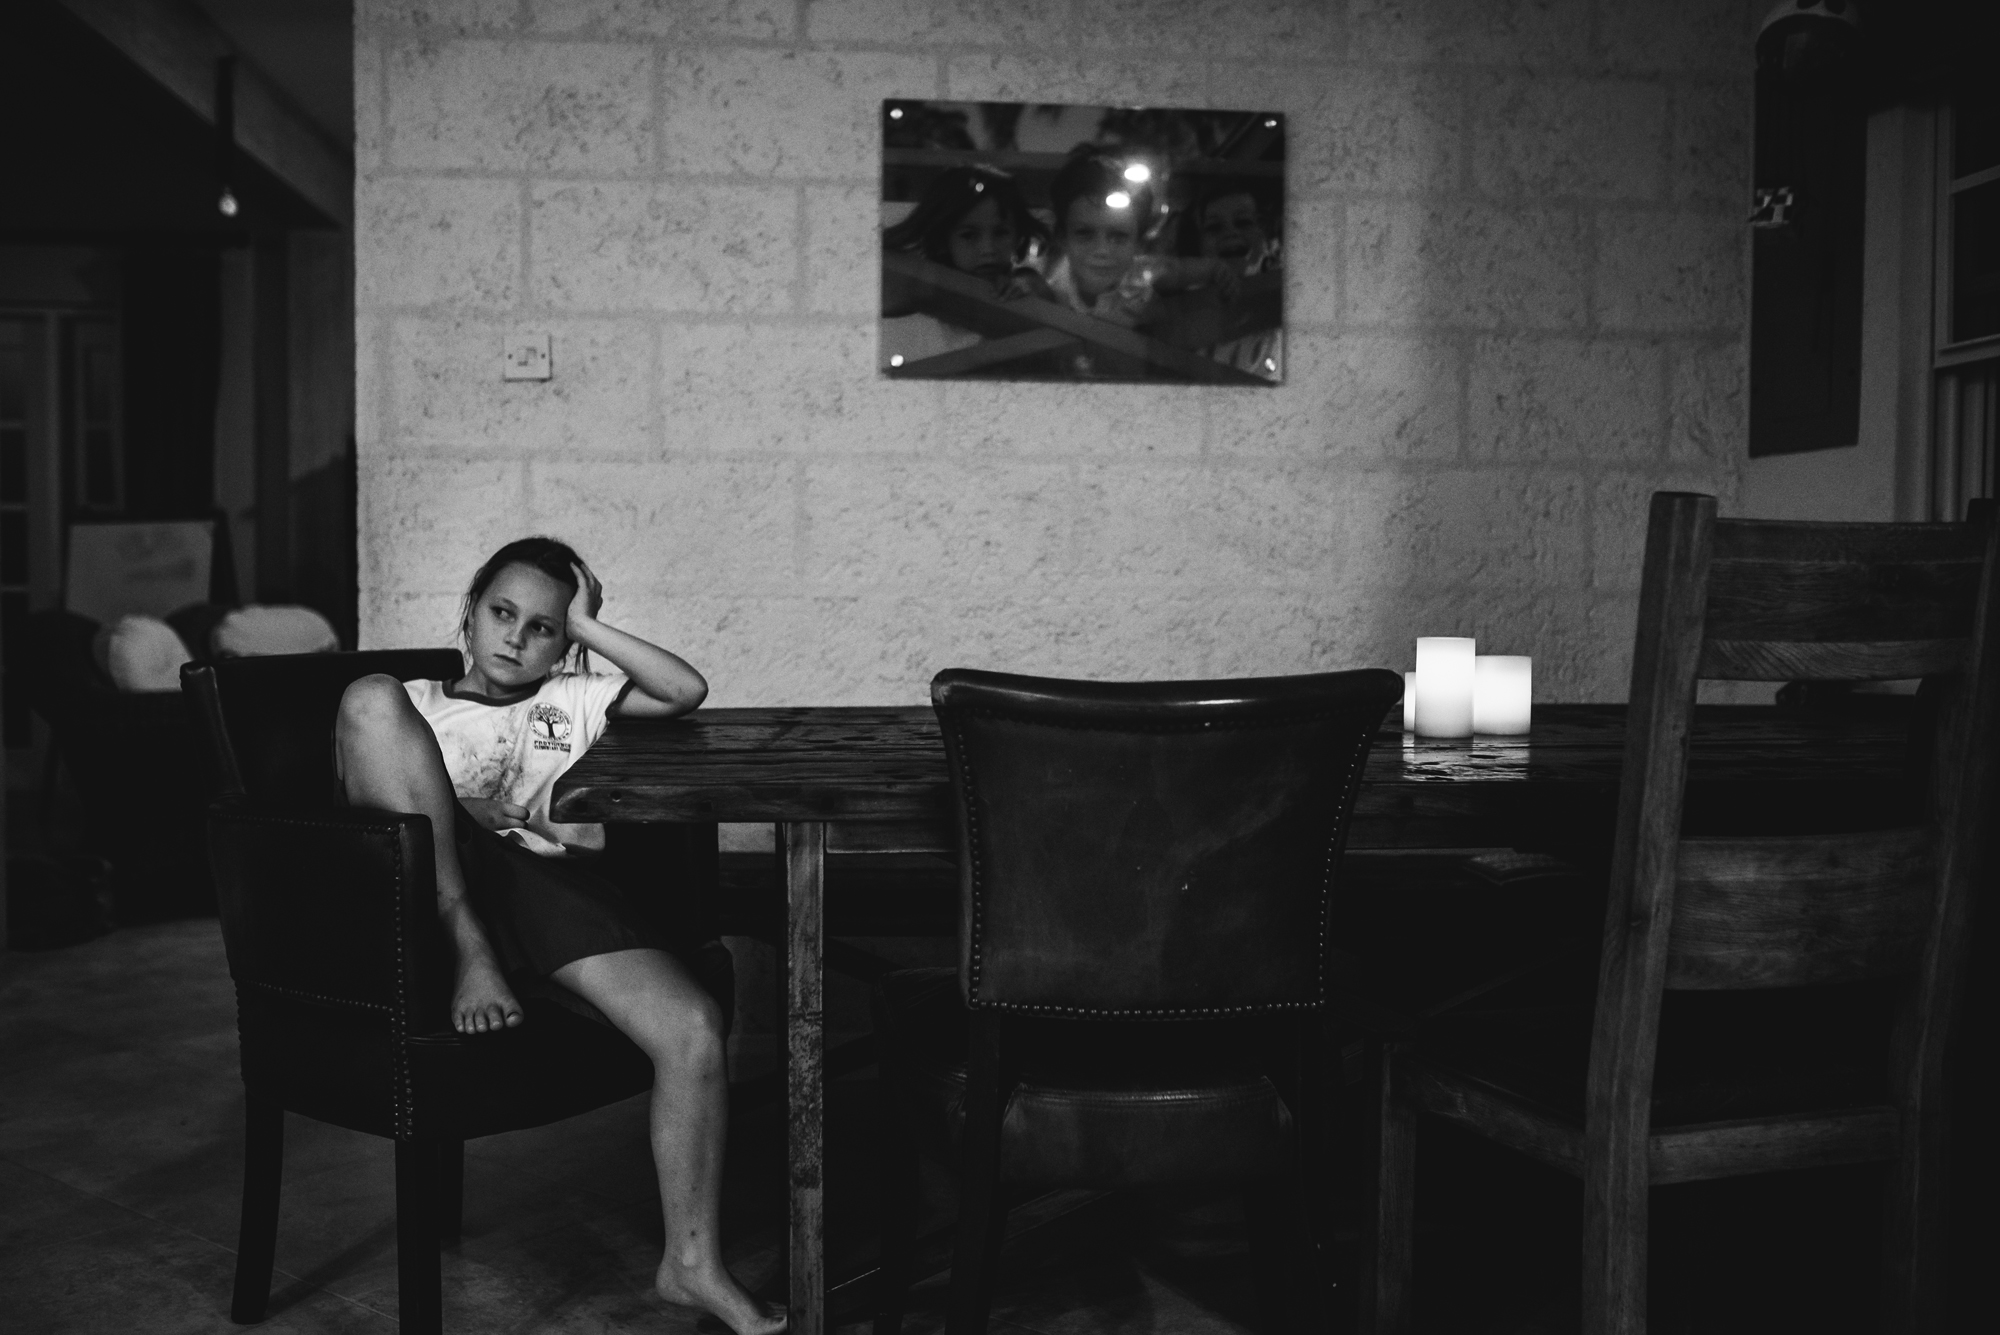
Images can be taken anywhere there is good light. Sometimes the sun makes us lazy, but when you train your eye to see and understand light, you can document truly spectacular moments indoors with the most unexpected light sources.
